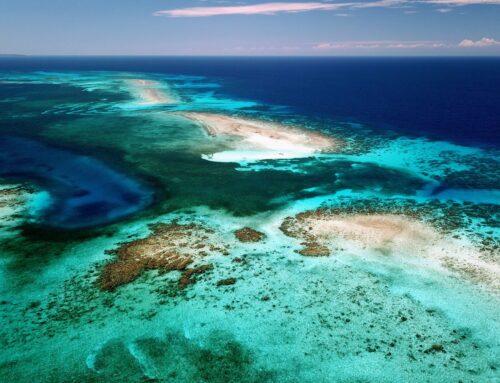
When we returned to the boat in March, after six months of work in Key West, we were a little overwhelmed with needing to start the diesel fuel tank replacement project. So we procrastinated for a few days and took a trip to the San Juans via ferry to stay at our favorite resort.

We are keeping the boat under shrink-wrap for now because it looks like we may not have time to cruise this summer. The shrink-wrap will make bringing in the new fuel tanks a little tricky as there is not much space to move around on deck. If you’d rather not hear about fuel tank install, skip further down for some more fun photos.

Before we could start removing the old tanks we wanted to make sure the wall panels in front of the tanks were not made of asbestos. It cost about $50 to have a small piece tested and luckily they are just fiberboard and paint. No asbestos!

Limerick had two large diesel tanks, at 135 gallons each, made of black steel. They were original from 1980 and one of them had started leaking (only about a tablespoon a day) last cruising season. There is no way to tell where the leak was so plugging it was not an option. When we left the boat at the end of last summer we emptied the remaining diesel into the non-leaking port tank. After removing the fiberboard on the starboard side we had better access to the tank but there was no way it would come out in one piece. So Mike got out his favorite tool and cut it into pieces using his Sawzall.

Last year Mike designed a system that pumps the fuel between the two tanks through a 2-micron Racor filter so we can polish the diesel. It also lets us level the boat at anchor by moving fuel to either tank. After the first hole was cut we understood why we were going through so many fuel filters despite having polished our fuel repeatedly. There was over an inch of sludge and rust on the bottom of the tank.


Unless we wanted to remove the engine there was no way to replace the original tanks with another single tank per side. So we are having two tanks per side fabricated from aluminum. Using an end piece of the old tank we made cardboard models of the new tanks to make sure everything would fit and be able to come aboard through our doors and engine room hatch.


After we saw the sludge in the starboard tank it was clear that we needed to replace both tanks. Since the two sides are connected we would just contaminate our new tank if we left one old tank. Before we could start on the port-side tank we had to pump out nearly 80 gallons of remaining diesel. We decided not to reuse the diesel so we wouldn’t reintroduce the same bugs to our new tanks. We were glad to hear that our boatyard would be able to use it in their shop heaters.


With every project, there are also the “while we’re at it” projects. Once we had both tanks removed we had tons of access to normally near-inaccessible places. Our water heater was ten years old, so we replaced it while we had good access once the port tank was out.

And while there was access Mike replaced all the drains and fresh water hoses to the galley and aft head and was finally able to overhaul the last seacock. Now all of Limerick’s thru-hulls and seacocks have been replaced or rebuilt.

To the right of Mike (in the photo above) in the corner under the galley counter, is a huge space that was not very usable. I found this awesome drawer unit and now we have tons more storage. If you don’t know what our galley looks like check out our boat photos page.


Mike also revamped some parts of the exhaust system. He put in all new hoses and a new elbow. He spent a lot of time in that corner, which is usually taken up by fuel tanks.

Currently, our new tanks are being fabricated but we may not have time to install them until later this summer. Photos of the new tanks are in the next post about the fuel tank install. Contact us to get the drawings we made for the tank design.

Click here to see PART TWO of the diesel tank project.
For more photos take a look at our albums and search for “Boat Projects”
While working on the boat we took the occasional day off to enjoy our amazing town. We took our inflatable kayak and SUP out on the bay with views of Mount Baker, drove to the top of Mount Erie to enjoy the views of the surrounding islands and mountains, and hiked and biked some of our island’s many trails.


Before we had to leave the boat we took a trip up to Whistler for my birthday. One thing I miss about living in Germany is the thermal baths. I found something very similar in Whistler and made it my birthday trip (we do experiences instead of presents). Mike got to go skiing.


Want to see even more photos of our adventures? Check out our Photo Albums.


wow amazing work im looking at a Monk 36 now to purchase. Ya all Rock
Thanks, James! Good luck with the purchase!
Thanks for all the info you have posted. I just removed a piece of paneling in my old trawler and discovered my fuel tank has a rather large 30″X30″ bolt on man hole. There is about 30 bolts holding it in place with a gasket. I am presuming a previous owner did some sort of coating on the inside of the tanks. I can’t imagine the port hole would have been original. It’s a 1978 41 Defevre built in Taiwan.
Yikes! Good luck. Hope you can get it clean and won’t have to replace the tank!
Hi there, would have posted this in the “Camille is for Sale… Again!” but this seems good also having sucked out about 5” of growth from Camille’s diesel tank not to long ago.
Thought I would introduce myself as the new owner of Camille, for the most part everything is almost exactly as you left her. The watermaker is still in hibernation, the extra parts were still in the various cubbies, the tinder and outboard looked like they hadn’t been used, the tinder bag pretty much flaked apart when I pulled it out… but inflated nicely and the outboard fired right up after a few pulls. Mostly just the usual maintenance of changing fluids in everything and some wax and polishing. Only major change the owners made was adding a mini fridge on the sofa when the internal ice box/fridge broke. It was an easy fix, the thermostat cable connector to the control board had deteriorated over the years or got crushed buy something, simple phone line connector fix and a top off on the coolant and it is up and running again. It has been great to find all of the modifications and additions you have done and see it in more detail from the blog’s you posted.
Camille shines up nicely and will be pulling her out for a bottom job in a few weeks that is very overdue.
Randy, so great to hear from you! We’ve been wondering how Camille is doing. I’ll send you an email soon. ~Verena